9 Signs Your Sled Handle Height Is Wrong for What You Are Training
Quick Answer: Handle height sets your torso angle, and torso angle decides whether a sled push is a leg-driving strength exercise or a conditioning effort. Low handles force a forward lean and load the quads, glutes and calves heavily. High handles keep you upright, load the legs less per step and let you move faster for longer. Neither is wrong — but if your handle height does not match your goal, the session produces something other than what you programmed. Here are nine signs of a mismatch.
Weight gets all the attention.
Handle height quietly decides what the weight is doing.

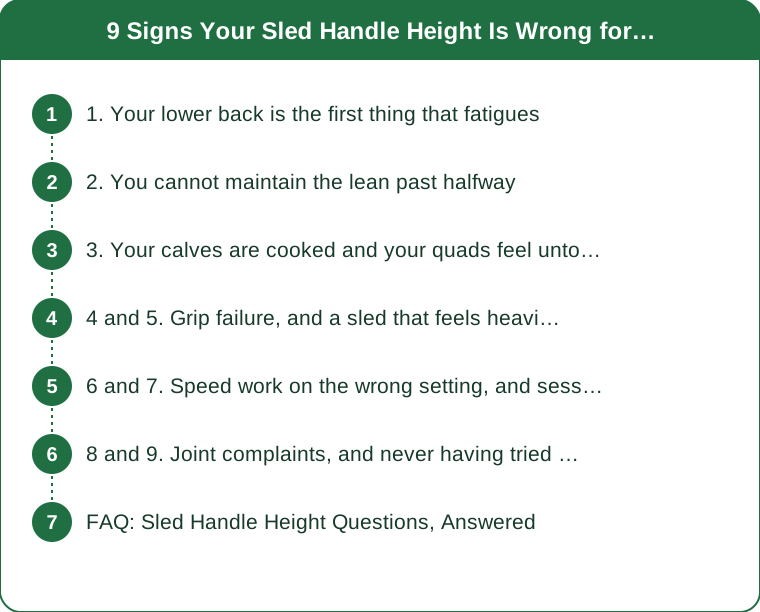
1. Your lower back is the first thing that fatigues
This is the clearest single sign, and it usually points to handles that are too low for the load you are pushing.
Low handles put you in a strong forward lean, which is correct for a heavy push. But maintaining that lean requires the muscles along your spine to work isometrically for the entire effort, and if the load is heavy enough or the distance long enough, they become the limiting factor before your legs do.
When that happens, you are no longer training what you intended. You are doing an extended isometric back hold with some leg work attached.
The distinguishing question: at the end of a set, is it your quads and glutes that are burning, or the strip either side of your spine? A heavy low-handle push should leave your legs shaking. If your back is the loudest signal, either raise the handles, reduce the weight, or shorten the distance.
The common error is to interpret the back fatigue as a core weakness to be trained through. Sometimes it is. Far more often it is a handle height that has put you in a position you cannot hold for the duration you have programmed.
2. You cannot maintain the lean past halfway
Watch yourself, or better, have someone film ten seconds of a set from the side.
A well-matched low-handle push shows a consistent torso angle from start to finish — one straight line from head through hips. A mismatched one starts at forty-five degrees and rises steadily as you go, until you are almost upright by the end of the distance.
That drift is the sled telling you it is too heavy for that position, or the distance is too long for that position.
It matters because the last third of the set is where the drifting version does the most damage. As the torso rises under a heavy load, the hips shift back and the load transfers to the lower back and the hip flexors in a position where neither is strong.
The fix is one of three: less weight, shorter distance, or higher handles. Which one depends on your goal — if you wanted heavy strength work, shorten the distance and keep the weight. If you wanted conditioning, raise the handles and keep the distance.
3. Your calves are cooked and your quads feel untouched
This one usually means handles that are too low combined with a step that has become too short.
In a very deep forward lean, the temptation is to take rapid small steps to keep the sled moving. Short steps mean less knee flexion and less quad involvement, and the drive comes increasingly from ankle extension.
So you get an enormous calf and Achilles stimulus and comparatively little from the largest muscles you were trying to train.
The check: count your steps over a fixed distance across sessions. If step count is climbing while weight stays the same, your steps are shortening and the emphasis is drifting.
Raising the handles slightly usually restores a longer step, because a less extreme lean allows a bigger knee drive. Reducing weight does the same thing.
There is a legitimate version of this — deliberate short-step calf-emphasis pushing exists. It is just rarely what someone means when they programme a heavy sled push.

4 and 5. Grip failure, and a sled that feels heavier than last week
4. Your grip fails before your legs do
A sign of high handles being used with heavy load.
Upright pushing with high handles transfers a lot of force through your arms and shoulders, and the higher the handles, the more the push resembles a horizontal press. With light or moderate load this is fine. With heavy load, the upper body becomes the weak link.
If you are letting go, readjusting your hands, or feeling your forearms burn before your legs are properly taxed, the handle height and the load are mismatched.
The general principle worth remembering: heavy loads want low handles, light loads tolerate high ones. Heavy and high is the combination that produces upper-body limitation, and it wastes the leg stimulus you loaded the sled for.
There is one exception worth naming — if you are deliberately training the upper body’s ability to brace under a horizontal push, heavy and high is the point. That is a real thing, and it is not what most people are doing when their grip gives out.
5. The sled feels heavier than it did at the same weight last week
Before you conclude anything about fitness or recovery, check whether the handles moved.
Gyms with adjustable sleds see the handle position change constantly — the previous user set it for their session and walked away. A shift from low to high handles at the same load produces a genuinely different exercise that will feel meaningfully harder or easier depending on which direction it went.
The other environmental variables that produce the same false signal:
Surface. Turf versus rubber versus concrete changes effective resistance considerably. So does the same turf when it is damp.
Temperature. Cold turf and cold sled runners behave differently, which is worth flagging as the weather turns — early autumn sessions on outdoor turf often feel heavier than the summer equivalents at identical load.
Sled position on the plate. Where the weight sits on the post changes the moment arm slightly.
Check the handles first, because it is the largest of these effects and the easiest to overlook.
6 and 7. Speed work on the wrong setting, and sessions that all feel identical
6. You are training for sprint speed and using low handles
A goal mismatch rather than a technique fault.
Heavy low-handle sled pushes have a strong resemblance to the acceleration phase of a sprint — forward lean, powerful extension, long ground contact. That is exactly why they are used in speed programmes.
But past a certain load, the position deteriorates from a sprint-like pattern into something that looks like a slow grind, and grinding does not train speed. There is a well-recognised trade-off in resisted sprinting: too much resistance changes the movement pattern enough that specificity is lost.
Practical guidance: for speed-oriented work, load so you can maintain a genuinely athletic posture and a brisk turnover. If it looks like a strength exercise, it is one.
For pure strength work, load heavier, keep the handles low, keep the distance short — 10 to 15 metres — and rest properly between efforts.
Both are useful. Doing the first while intending the second is the common error, and handle height is one of the levers that decides which one you actually get.
7. Your sessions all feel the same regardless of what you programmed
If every sled session lands in the same place — moderately heavy, moderately breathless, moderately everything — the handles are probably never changing.
The sled is one of the few pieces of equipment that can genuinely serve three purposes: maximal strength, speed development and conditioning. Handle height is a primary lever for switching between them, and it costs ten seconds.
A reasonable structure:
Strength day — low handles, heavy load, 10 to 20 metres, full rest between efforts.
Speed day — mid handles, moderate load, 15 to 20 metres, brisk turnover, full rest.
Conditioning day — high handles, lighter load, longer distances or timed intervals, short rest.
Same sled, three genuinely different training effects.
Most people use one setting for all three, which produces a session that is decent conditioning and mediocre everything else.
8 and 9. Joint complaints, and never having tried the other setting
8. Your knees complain and your hips do not
Worth attention, and the relationship to handle height is real.
A very upright push with high handles and a heavy load tends to load the knee more, because the forward lean that would let the hips contribute is absent. Without the lean, the drive comes more from knee extension and less from hip extension.
Lowering the handles brings the torso forward, which brings the glutes and hamstrings into the movement and shares the load.
This is not a claim that upright pushing damages knees — it is a claim about distribution. If your knees are the consistent complaint after sled work and your hips feel like they did nothing, redistributing via handle height is the most direct adjustment available.
The same logic runs in reverse. Persistent hip flexor soreness after very low-handle work often means the lean is more extreme than you can currently support, and raising the handles a notch redistributes back.
Persistent joint pain that does not resolve with these adjustments is a reason to see a physiotherapist rather than to keep experimenting. This is general fitness information, not medical advice.
9. You have never actually tried the other height
The most common sign of all, and the easiest to fix.
A surprising number of people have a strong opinion about sled work — that it is brutal conditioning, or that it is a leg strength tool — based entirely on the one handle height they have ever used.
The test takes one session. Same weight, same distance, three efforts at low handles and three at high, with proper rest. Note where you feel it, how fast you moved, and what fatigued first.
Most people are surprised by how different the two are, and a fair number discover that the version they have been avoiding is the one that matches their actual goal.
A note on what to keep constant: change handle height alone. If you also change the weight, you cannot attribute the difference, and the whole point is to learn what handle height does independently.
Write down what you find. Sled training rewards precision more than most conditioning tools, and a two-line note about which height suits which session will outlast any amount of general advice — including this.
FAQ: Sled Handle Height Questions, Answered
Is there a standard correct height?
No — it depends on your goal, your height and the load. As a starting point: low handles for heavy strength work, high handles for lighter conditioning, mid for speed-oriented pushing. Your build shifts the exact positions.
What if my sled only has one handle position?
You can approximate by changing where you grip and how far you stand back. Gripping lower on an upright post and stepping further back produces a more forward lean; standing closer and gripping high produces a more upright push. It is less precise but it works.
Does handle height matter for sled drags and pulls too?
The equivalent variable for drags is strap length and attachment point, and it does the same job — deciding your body angle and therefore which muscles dominate. A shorter strap and lower attachment shifts the emphasis noticeably.
How much weight should I use for each?
Let position decide. For strength work, the heaviest load that lets you hold a consistent torso angle for the full distance. For speed work, light enough that your turnover stays brisk. For conditioning, light enough to sustain the interval. Numbers vary far too much between sleds and surfaces to be useful.
Should I vary handle height within a session?
You can, and a common approach is heavy low-handle work first while fresh, then lighter high-handle conditioning at the end. Doing it the other way round means the strength work happens on tired legs, which usually degrades position.
TL;DR:
- Handle height sets torso angle, and torso angle decides whether a push is strength work or conditioning
- Low handles with heavy load build legs; high handles with lighter load allow speed and volume
- Heavy and high is the mismatch that makes grip and shoulders the limiting factor
- Lower back fatigue before leg fatigue means the position is too demanding for the load or distance
- Test both heights at the same weight in one session — most people are surprised by the difference
Before your next sled session, decide what you want from it and set the handles accordingly. It takes ten seconds and changes the exercise more than the next twenty kilos will.
Keep Reading
This article is for general informational and styling purposes only. Fit, sizing, and product availability may vary.