7 Sled Mistakes That Show Up in Your Legs the Next Day
Quick Answer: Sled work is prized because it is almost entirely concentric - your muscles shorten to produce force and never absorb load on the way back - which is why it should not make you sore. Next-day soreness means eccentric load has crept in somewhere: braking on the drag, decelerating at the finish, an overloaded sled forcing a stall-and-lurch rhythm, or a surface that is fighting you. Seven specific causes, in the order they happen.
Each one is fixable in a single session.

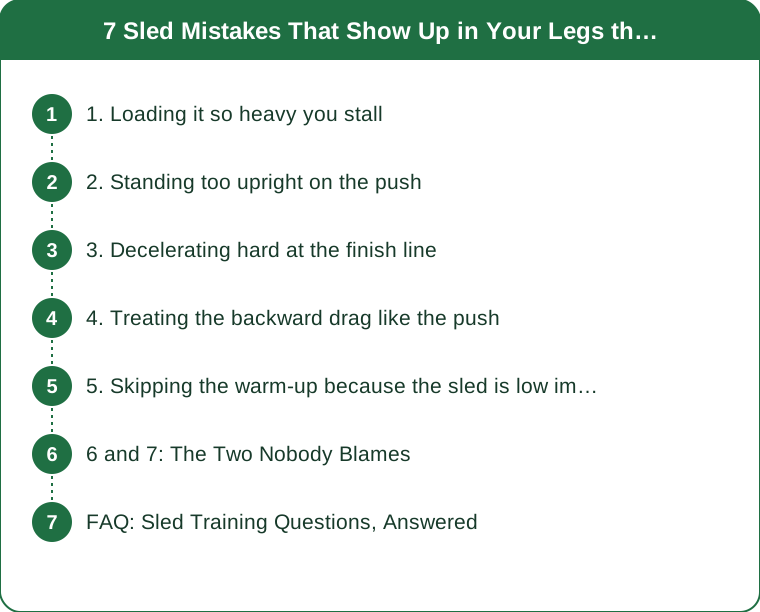
1. Loading it so heavy you stall
A sled you can barely move stops being a sled. It becomes an isometric hold interrupted by lurches, and the lurching is where the eccentric load and the soreness come from.
The rhythm should be continuous. If you can take smooth, unbroken steps for the full distance, the load is right. If you take two steps, stall, then heave, you are 20 to 30% too heavy.
Heavy sled pushes have their place - they build starting strength and are legitimate training. But they are a different exercise from conditioning sled work and should not be more than one session in three.
A practical starting range: for a general fitness push, load so a 20 metre trip takes 12 to 18 seconds with steady steps. Much faster and it is too light for strength work; much slower and you are grinding.
Weight also depends enormously on the surface, which is the next problem. The same plates on turf and on concrete are completely different exercises, so never carry a number between facilities.
And add weight in small steps. 5 to 10 kilos at a time, and only once the current load moves smoothly for all sets. A sled that suddenly stalls is one increment past useful.
2. Standing too upright on the push
Body angle decides which muscles do the work. An upright push puts the load on the quads and lower back; a proper forward lean puts it through the whole leg with the glutes and calves contributing.
The target is a straight line from head to heel at roughly 45 degrees, with the arms extended and the hips low. If your hips are higher than your shoulders, you are pushing down rather than forward.
Arm position sets the lean. High handles encourage upright pushing; low handles or the uprights held near shoulder height force the angle that actually produces horizontal force.
The most common tell is lower back soreness the next day. That is not a sled effect - it is an upright-posture effect and it means the spine was doing what the legs should have been.
Bent arms are the second tell. Pushing with bent elbows turns it partly into a chest and shoulder exercise and lets your torso rise. Lock the arms and drive from the legs.
Check it once on video. One 20-metre push filmed from the side tells you more than any cue, and most people are considerably more upright than they believe.
3. Decelerating hard at the finish line
This is the sneakiest one and it is pure eccentric load. You reach the end, stop pushing, and your legs absorb your own momentum to bring you to a halt.
Multiply it by twelve trips and you have done a meaningful volume of unplanned braking - which is precisely the stimulus that produces delayed soreness.
Push through and let the sled stop you. Keep driving to the line and beyond by a step, letting the friction do the deceleration rather than your quads.
Or plan a walk-off. Slow down over five metres rather than two. Gradual deceleration spreads the eccentric load to almost nothing.
The same applies to changing direction. Sharp turnarounds at the end of each trip add braking and lateral load. Walk a wide arc instead of pivoting.
This alone explains a lot of unexpected sled soreness, and costs nothing to fix.

4. Treating the backward drag like the push
Backward drags are the most joint-friendly thing you can do for knees, and also the easiest to do badly. The mistake is leaning back and using bodyweight as an anchor rather than actively pulling with the legs.
Stay relatively upright with a slight backward lean and keep the arms straight. The work should be in the quads and the front of the hips. If your biceps are fatiguing, your arms are pulling.
Take short steps, not long ones. Long backward steps force a braking action with each landing, which reintroduces the eccentric load backward dragging is supposed to avoid.
Keep constant tension on the straps. Slack that snaps tight jerks the joint. A continuous, even pull is the whole point of the exercise.
Load lighter than you would for a push - roughly 50 to 60% of your push weight is a reasonable starting point, because the position is much less mechanically advantageous.
And this is the variation to prioritise if your knees complain. Backward drags load the quad without the compressive knee flexion of a squat, which is why they appear in so many knee rehab programmes. That is a general observation, not medical advice - see a professional for a specific knee problem.
5. Skipping the warm-up because the sled is low impact
Low impact does not mean low intensity. A heavy first sled trip from cold is a maximal-effort contraction with no preparation, and calf and hip flexor strains from exactly that scenario are common.
Five minutes minimum before the first working trip. Easy walking, then two or three progressively loaded sled trips at 40%, 60%, and 80% of working weight.
Calves need the most attention. The forward-lean push position puts the calf in a lengthened position under load, which is the most vulnerable configuration and where cold-start injuries concentrate.
Hip flexors are the second area. The recovery phase of each step is an active hip flexion under fatigue. Some dynamic leg swings before starting is enough.
Cold weather doubles the requirement. Outdoor sled work in autumn on a cold turf pitch needs closer to ten minutes of progressive preparation, and the ramp-up trips matter more than any stretching.
And the ramp-up is not wasted volume - those light trips are part of the session, not something extra bolted on the front.
6 and 7: The Two Nobody Blames
6. Ignoring what the surface is doing
Surface friction changes the load more than the plates do. Artificial turf is high-friction, rubber gym flooring is moderate, and smooth concrete is low. The same weight can be a 40% difference in effort between them.
Wet or damp surfaces are unpredictable. A turf pitch after rain grabs in some sections and slides in others, and the inconsistency produces stumbles and micro-braking - which is eccentric load again.
Never carry a weight number between venues. Re-establish your working load by feel each time using the 12 to 18 seconds per 20 metres rule. A number that worked on rubber will stall you on turf.
And check the sled runners. Worn or damaged plastic skids increase drag unevenly, making one side heavier than the other - which produces a subtle asymmetric loading you will feel the next day on one side only.
7. Doing too much on the first session
Because it does not hurt during, people massively overshoot volume. The absence of eccentric load removes the usual feedback that tells you to stop.
A sensible first session is 6 to 8 trips of 20 metres with 60 to 90 seconds rest. That will feel like too little. Do it anyway and judge from how you feel in 48 hours.
Build by roughly 10% a week in trips or distance, not both. Sled work loads tendons and connective tissue even when muscles are not sore, and those adapt more slowly.
Rest intervals are where people cheat. Sixty seconds minimum, and up to three minutes for heavy strength-focused pushes. Short rests turn a strength session into a conditioning session without you choosing to.
And if you are sore anyway, look at the list above rather than concluding the sled is not for you. Soreness from sled work is almost always a technique or programming signal, not the exercise doing its job.
FAQ: Sled Training Questions, Answered
Should sled pushes make me sore?
Generally no. Sled work is almost purely concentric, which is why it is used when you want a training effect without soreness. Next-day soreness means eccentric load crept in somewhere.
How heavy should my sled be?
Heavy enough that a 20 metre trip takes 12 to 18 seconds with continuous, unbroken steps. If you stall and lurch, drop 20 to 30%.
Why does my lower back hurt after sled pushes?
Almost always an upright pushing position. Get the hips lower and the body into a straight line at roughly 45 degrees, arms locked out.
Are backward drags better for knees than squats?
They load the quad with far less knee compression, which is why they feature in rehab settings. That is a general observation - see a professional for a specific knee issue.
How often can I train with a sled?
Because recovery demand is low, two to three times a week is manageable for most people once the progression has been built gradually.
Does the surface really change the weight I need?
Enormously. Turf, rubber, and concrete can differ by 40% in effective load at identical plate weight. Reset your working weight by feel at every new venue.
TL;DR:
- Sled work is concentric, so it should not make you sore. Next-day soreness means braking or eccentric load crept in.
- Do not load to a stall. Target 12 to 18 seconds per 20 metres with continuous steps; drop 20 to 30% if you lurch.
- Get low and lean. Straight line head to heel at about 45 degrees, arms locked. Lower back soreness means you were upright.
- Stop decelerating at the line. Push through and let friction stop you, and walk wide arcs instead of pivoting.
- Backward drags: short steps, constant tension, 50 to 60% of push weight, and pull with legs not arms.
- Warm up properly - calves in the lengthened lean position are the most common cold-start strain.
- Start at 6 to 8 trips and build 10% a week. The lack of soreness during removes the usual stop signal.
Surface friction changes effective load by up to 40%. Never carry a weight number between venues.
Keep Reading
This article is for general informational and styling purposes only. Fit, sizing, and product availability may vary.